
Administer conversation channels
The Omni space brings together web chat and messaging channels. Select the client before starting. Prepare your site domains and the provider accounts to be linked. Settings read access grants access to web and chatbot; channels read access grants access to messaging. Changes require the corresponding write permissions.
The navigation offers an overview, web, WhatsApp, Messenger, Instagram, SMS, Telegram, and interactive forms. The chatbot is now configured in AI Integrations › Conversational Agent. The overview cards open the channel configuration. An old sites, widget, or SLA link leads to the web section; old template links lead to WhatsApp.
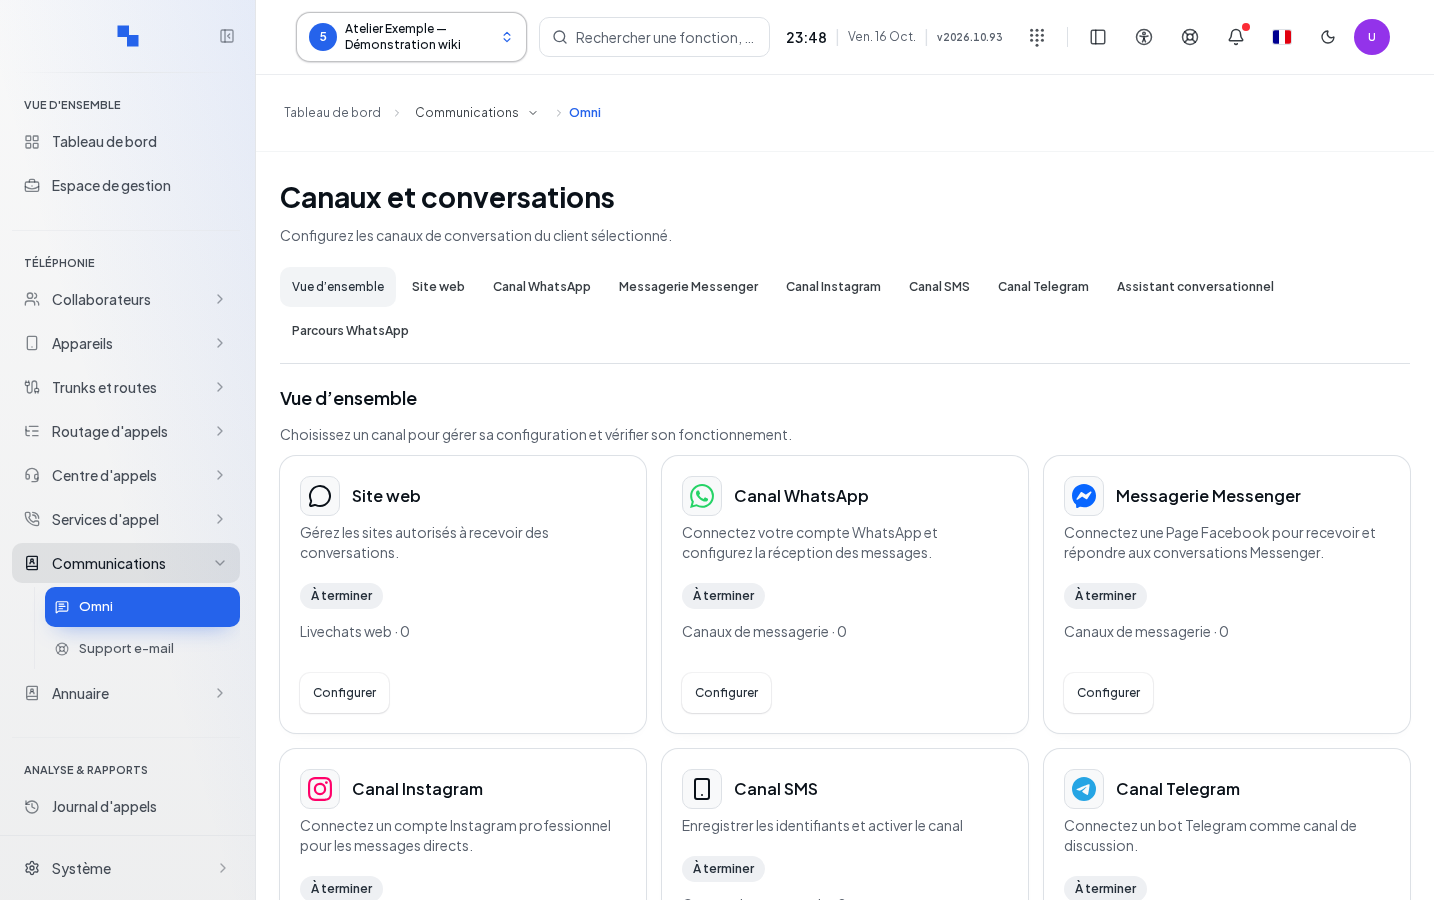
Install a web chat
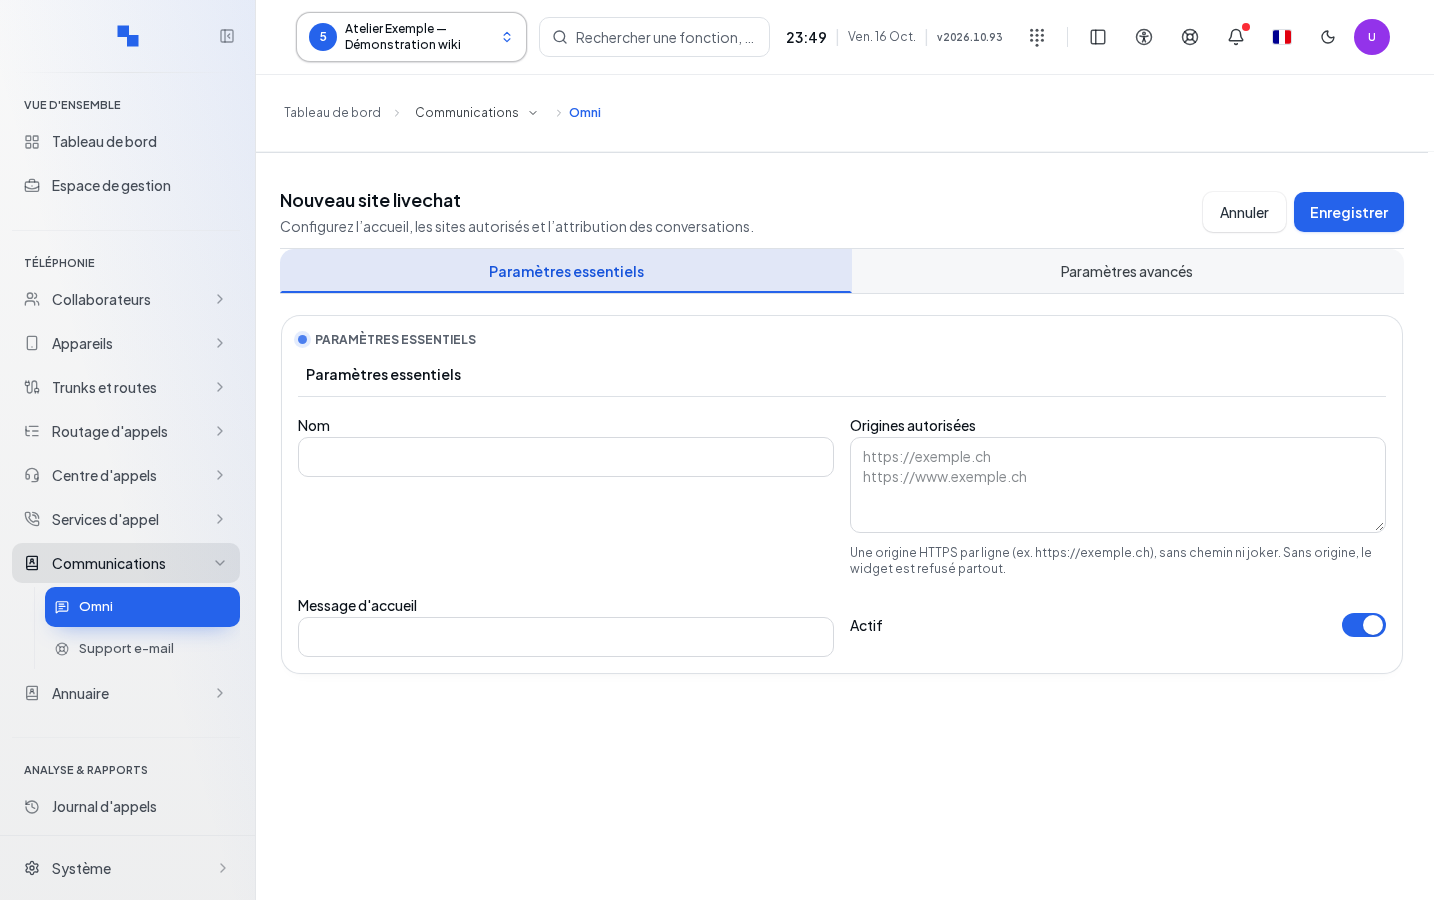
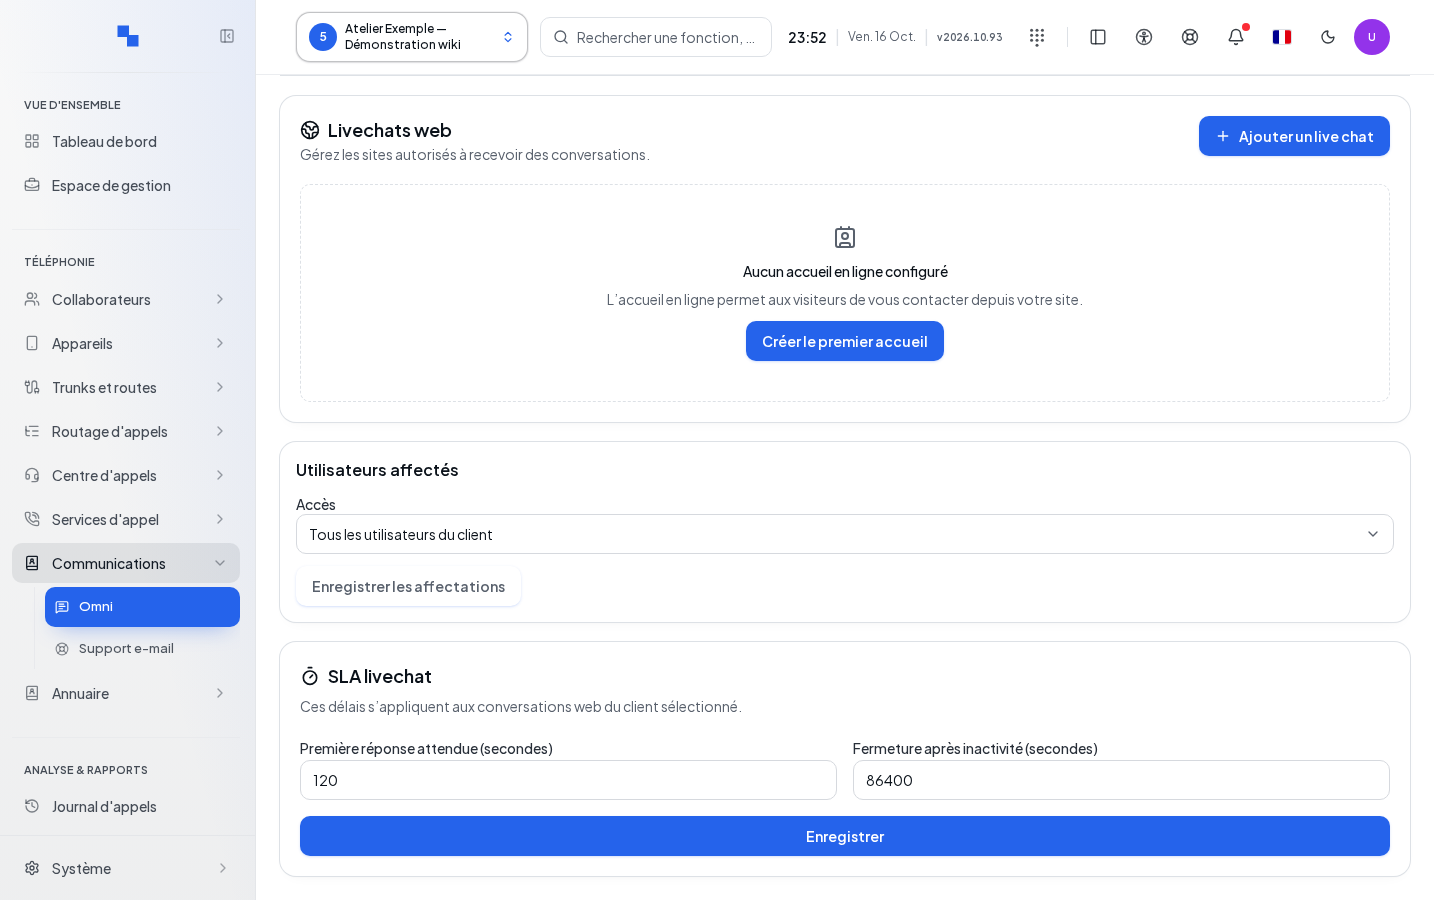
- Open the web section and click Add a live chat.
- Fill in the site, origins, and welcome message.
- Set the assignment and any pre-conversation questions.
- Click Save. Cancel closes the form without applying the draft.
- In the list, use Copy to retrieve the widget integration snippet to hand over to the site owner.
- Open the widget from an authorized origin and verify the conversation arrives.
| Field | What it's for | Possible values | Example |
|---|---|---|---|
| Name | Identify the site; required | Non-empty text | Sales site |
| Allowed origins | Authorize the sites hosting the chat | Full origins, separated by spaces, commas, or semicolons | https://www.example.test |
| Welcome message | Text shown to the visitor | Up to 300 characters | Hello, how can we help? |
| Active | Put the site into service | Enabled by default | Enabled |
| Department (PBX queue) | Assign the conversation | Available queue or team inbox | Reception |
| Agents | Choose the recipients | Agents from the catalog | Reception team |
| Allow visitors to call you from the chat | Enable the callback request | Disabled by default | Enabled after number is set |
| What the visitor can request | Describe the available voice mode | Callback offered by this version | Callback |
| Internal number receiving these calls | Callback destination; required if enabled | Accepted internal number, field limited to 9 characters | 201 |
An origin is the site address without a page path; a trailing slash is removed when it matches a valid origin. An enabled callback without a valid destination prevents saving. The voice request must not be described as another call mode absent from the selector.
Edit reopens a site. Delete asks for confirmation. The Select all on this page selection applies to the visible page; check the selected sites before a bulk operation. Agent and queue lists are browsed with Previous page and Next page. An agent already selected outside the current page remains visible as a retained selection.
Prepare questions and timeouts
| Field | What it's for | Possible values | Example |
|---|---|---|---|
| Label | Question to the visitor | Up to 120 characters | Your email address |
| Answer type | Choose the input type | Text, email, phone, or list | |
| Required | Require an answer before conversation | Toggle | Enabled |
| Choices | Define a list | One choice per line, no empty lines | Sales then Support |
| First expected response (seconds) | Threshold for tracking first reply | Integer of at least 1 | 60 |
| Close after inactivity (seconds) | Timeout for closing an inactive conversation | Integer of at least 1 | 3600 |
Add a question adds a field, up to ten. Move up and Move down change the order and are disabled at the ends. Delete removes the question from the draft. Changing the type resets its options. Save the site form to keep these questions.
The two timeouts each have their own Save button. The role assignments of the web panel are separate from the values on the site form: check each panel after its validation.
Add a Meta or Telegram channel
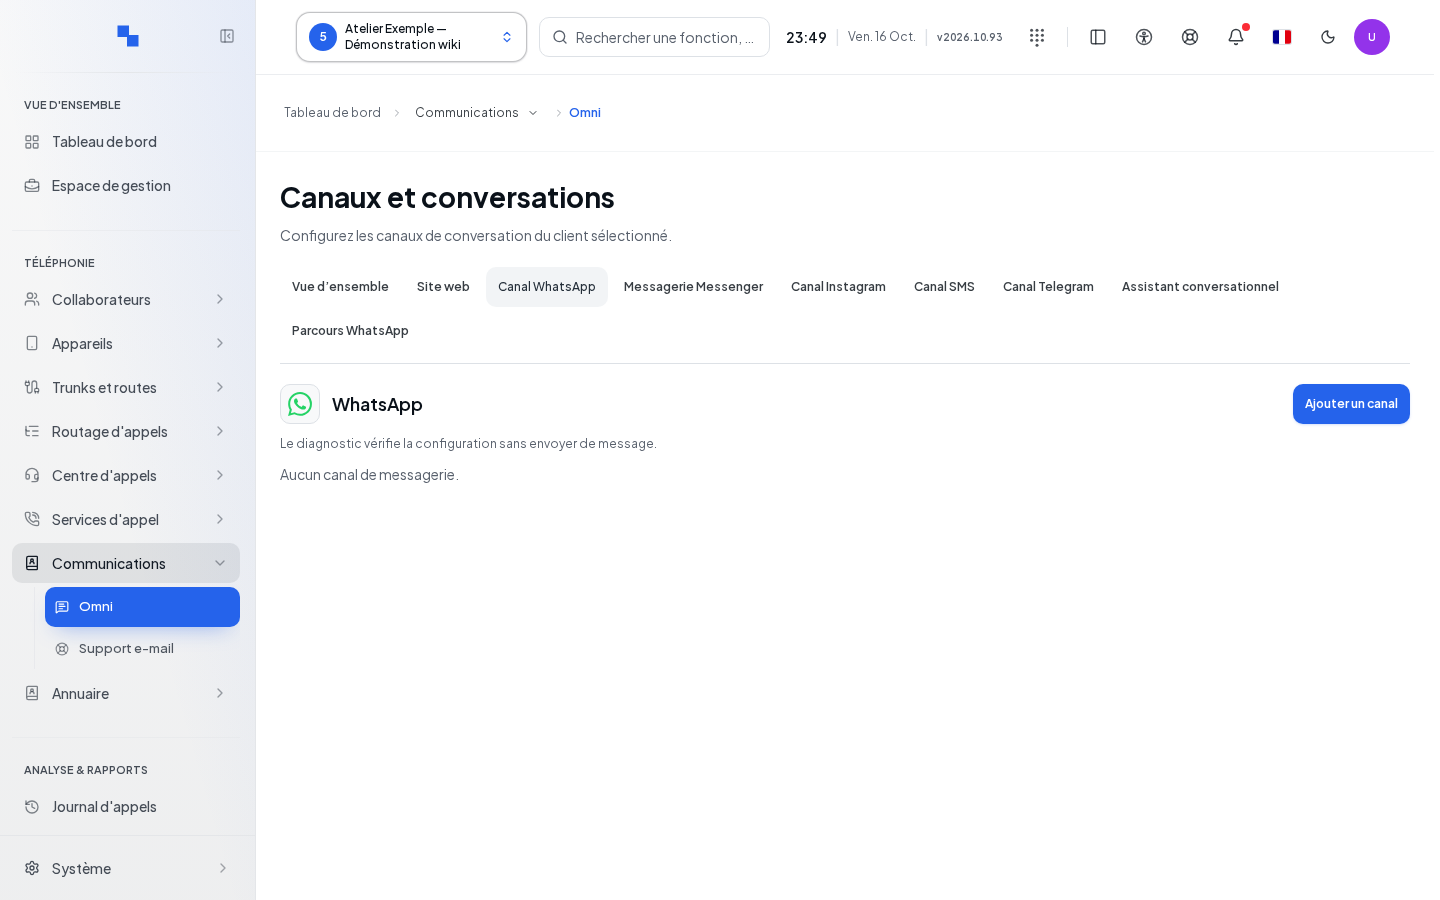
Open WhatsApp, Messenger, Instagram, or Telegram, then Add a channel. Choose Connection mode, enter Channel name, optionally Displayed number, then Create. The name is required, with a 100-character limit; the displayed number is also limited to 100 characters. Cancel closes the dialog.
Creation prepares the channel. Configure opens the required credentials and connections. The list offers Test, WhatsApp templates, Messenger profile, or Delete depending on the type. Deletion asks Delete this channel?; check the row before confirming.
| Configuration field | What it's for | Possible values | Example |
|---|---|---|---|
| Channel name | Displayed name | Up to 100 characters | WhatsApp Reception |
| Sending number | Channel identity | Value from the provider account | Number assigned to the department |
| Connection mode | Choose the connection type | Options offered for this channel | Meta mode configured |
| Application and account credentials | Associate the app, page, account, and number | Values required by the chosen mode | Credentials from your test account |
| Secrets and tokens | Authenticate the provider | Secrets provided by its administrator | Secret stored in the manager |
| Verification token | Validate reception | Provided or generated value | Token prepared with Generate |
| Bot token | Authenticate Telegram | Bot token; required for connection | Test bot secret |
Save the credentials before any operations that use the saved configuration. A secret field marked as present does not reveal its value; do not copy a masked value as a new secret.
Follow the Meta guide and connect reception
For WhatsApp, check in turn the Business account, the Meta number, its registration, message reception, the app subscription, and the templates. Messenger and Instagram offer the appropriate steps. Step verification reads the actual state; Configure or fix returns to the relevant field.
- Register the app and its secrets.
- Choose New number or Number already used in the WhatsApp Business app depending on your situation.
- Click Connect WhatsApp Business and follow the provider's authorization.
- If the module is not ready, Reload the Facebook module reloads it.
- To register a number when needed, enter the six-digit registration PIN, then Register the number with Meta. The access token and number ID must be present.
- Generate the reception URL with Generate URL, then Copy.
- Use the corresponding subscription command, including Subscribe the WABA to this URL for WhatsApp.
- Check the steps, then Open conversations to test.
Regenerate URL replaces the secret address to be given to the provider. Revoke removes the entry point; adjust the provider configuration before expecting new receptions. Extend authorization and Renew Instagram authorization act on the tokens when these commands are available. A reconnection-required status must be handled with the provider.
The result of Test distinguishes successful, pending, or failed checks. Close closes this result. The WhatsApp coexistence tracking displays history and contacts separately; do not consider an incomplete synchronization as finished.
Manage WhatsApp templates and media
Open WhatsApp templates on the channel. The list shows name, language, category, approval status, and any rejection reason. The edit command loads the template authorized for editing; Delete opens the template confirmation.
| Field | What it's for | Possible values | Example |
|---|---|---|---|
| Name | Identify the template; required | Lowercase letters, digits, and underscores; locked when editing | request_followup |
| Language | Template language; required | Provider code; locked when editing | en |
| Category | Define its use | Utility, marketing, authentication | Utility |
| Header | Prepare the title or media | Offered format; text limited to 60 characters | Request followup |
| Sample values | Illustrate parameters | Example required for each parameter; sample media for a media header | Fictitious request number |
| Message body | Main text; required | Up to 1,024 characters | Followup text |
| Footer (optional) | Additional text | Up to 60 characters | Support team |
| Buttons | Offer an action | Quick reply, URL, phone, or code copy depending on options | Open the request |
Add buttons with the add command and remove them individually with Delete. An authentication template adjusts header, footer, and button options. The category of an approved template may be locked.
Submit for approval creates the request; Save modifies an existing template. Cancel exits editing. A submission is not an approval: review the status after the provider's processing.
In media, choose a file to upload it to the channel. The download and delete commands apply to the selected media. The arrows browse the catalog. A template sample media and a media usable in a conversation have distinct purposes.
In a conversation's template selector, choose WhatsApp template, fill in all required values, then Send. The command is disabled without a valid template or complete parameters. An uncertain delivery result remains flagged; do not automatically resend the same message. Received attachments have their own download command.
Configure the Messenger profile
In Messenger profile, Welcome message sets the initial text and the Starter questions. Conversation menu opens the start and persistent menu commands. Enter the expected values, save with the panel command, or cancel the entry. Deleting the menu removes its configuration from the provider; it does not delete the channel.
After saving, test opening a conversation on the relevant account. The Instagram configuration gives access to Instagram posts, explained in Publish a Reel.
Connect and test SMS
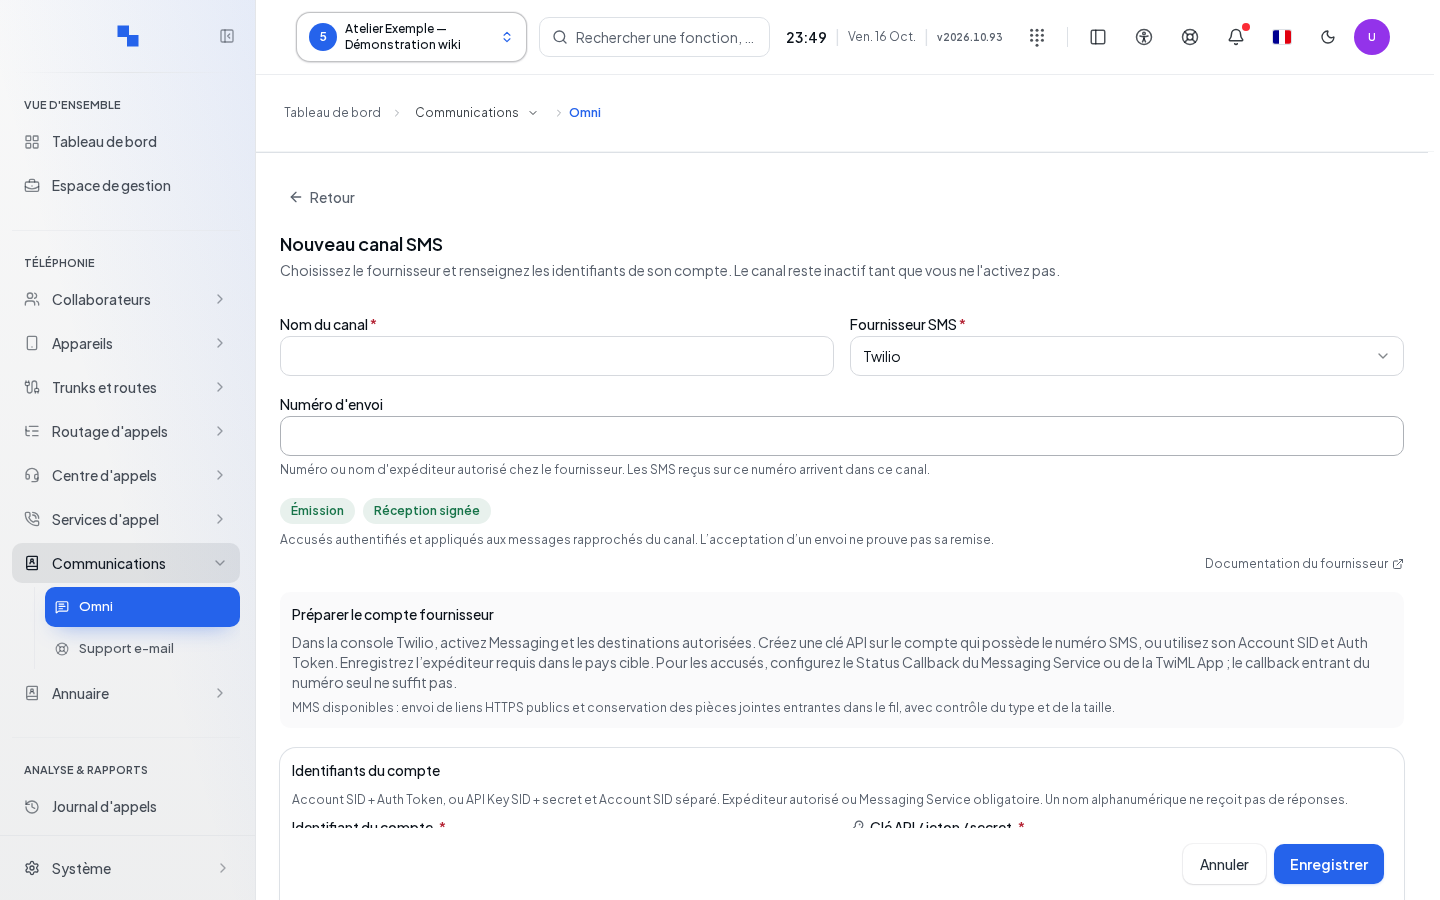
In SMS, click Add SMS. The Prepare provider account dialog offers providers qualified for sending and their specific parameters.
| Field | What it's for | Possible values | Example |
|---|---|---|---|
| Channel name | Identify the account; required | Non-empty name | SMS reception |
| SMS provider | Choose the service; required | Qualified provider offered | Your contracted provider |
| Sending number | Identify the sender | Required depending on the provider | Number provided by the carrier |
| Provider parameters | Authenticate and configure sending | Required fields marked with an asterisk | Test account key |
| Webhook signing secret | Verify incoming callbacks | Secret required depending on the provider | Account secret |
| International recipient number | Test target | Valid international number | Your acceptance test phone |
| Message text | Test content | Text accepted by the provider | Reception test |
Provider documentation opens its guide. Save prepares the channel and its credentials; Cancel discards the dialog. Configure reopens the settings. The Active toggle sets the channel. Delete opens Delete this SMS channel?; confirm the intended channel or cancel.
To receive callbacks, select the provider in the reception panel, enter the required parameters, and generate its entry point. Copy retrieves the URL to configure with the provider. If the public origin or parameters are missing, generation remains blocked.
Test and log opens a real send to the entered number. Check the recipient before sending. While the request is pending, wait; if its response is lost, the recovery command resumes this request instead of preparing a new send. Refresh rereads the log. Check the send status and receipt on the phone.
Configure the chatbot and interactive forms
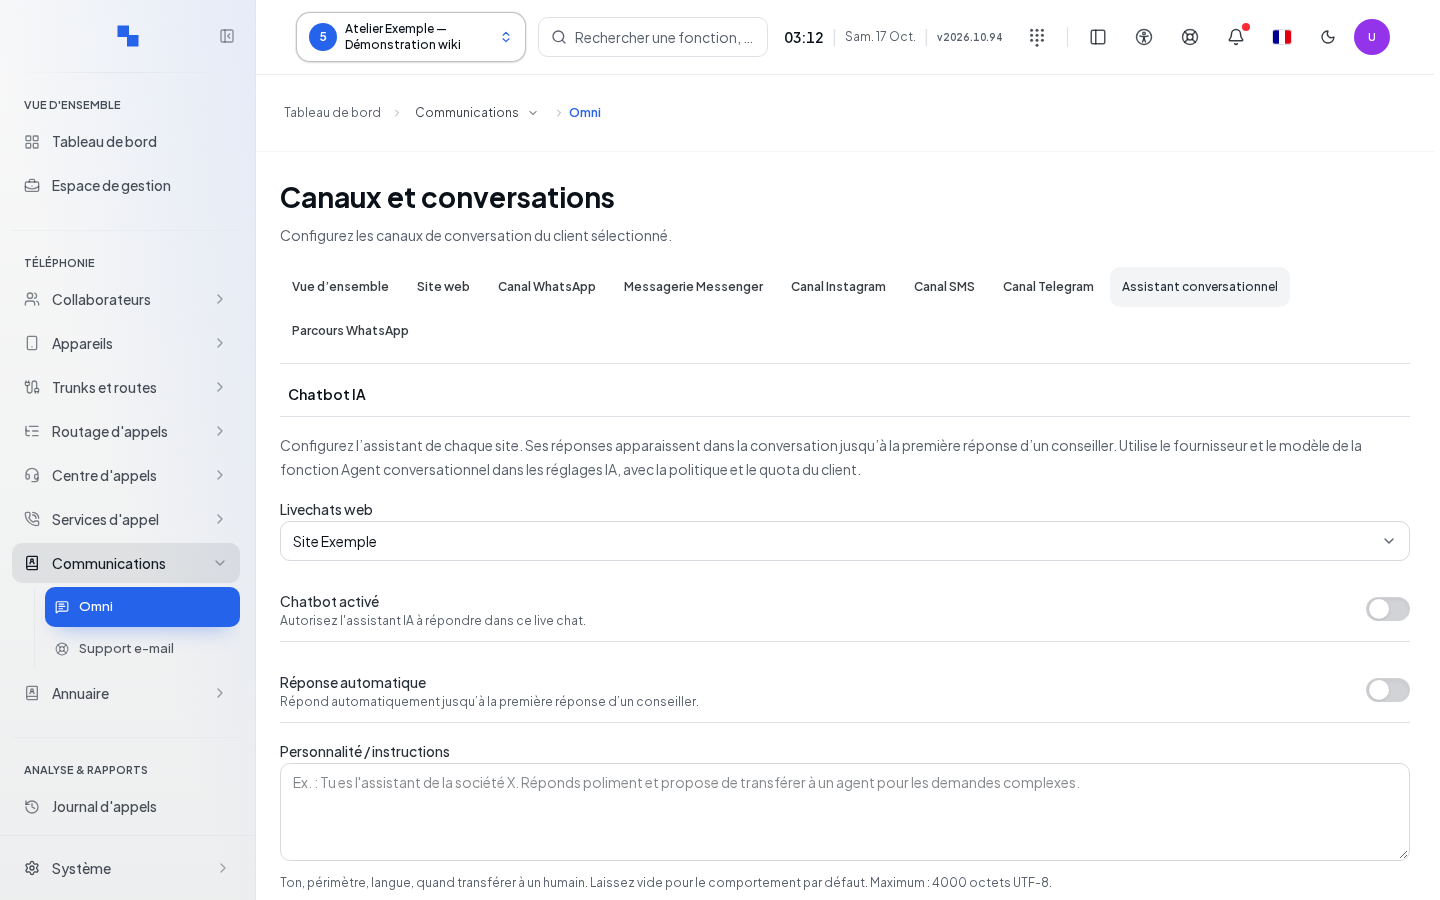
In AI Integrations › Conversational Agent, select one of the Web livechats. Set Chatbot enabled and Automatic reply, then enter Personality / instructions, up to 4,000 UTF-8 bytes. Accented characters may take up multiple bytes. The AI guide details this form and the separate simulation of voice agents. Save applies the draft; unchanged or overly long input prevents saving. Check the save message and test a conversation.
WhatsApp interactive forms are managed in their dedicated section. Select the channel first. Refresh rereads the list, Create prepares a new definition, Details loads the selected one. Enter the name, category, and JSON definition; the preview checks for the presence of screens before displaying them.
Save or Create keeps the definition. The publish, withdraw, and delete commands depend on its state. Each asks for confirmation showing the name and target state; cancel to keep the definition. A definition with validation errors cannot be published. The exchange panel, when available, requires an HTTPS origin and its JSON plan; save them with the panel command.
To prepare an interactive send, choose the conversation, the form, and its starting screen, then the message body and the button text. The body is limited to 1,024 characters, the button to 20. Send only after checking the target; availability depends on the chosen form and permissions.
Check results and troubleshoot
A saved configuration does not prove messages are arriving. Check the channel steps, the connection test, then a real acceptance test conversation. If a catalog fails to load, retry reading it rather than creating a duplicate channel. If permissions are missing, have access to settings and channels checked separately.
For a provider error, provide the channel name, date, and displayed message, without any secret or private reception URL. For an uncertain delivery, review its log and use the recovery command offered before any new send.