
Opening the Login Page
To sign in, you need the address of your Informatique Facile PBX phone and your username (usually your email address). Open the address in your browser. If you have just received an invitation, start with activation. Once signed in, bookmark the page: it is your phone.
The logo, title, and background depend on your provider. The language selection and theme switcher remain accessible on the page. Wait for loading to finish before entering your information.
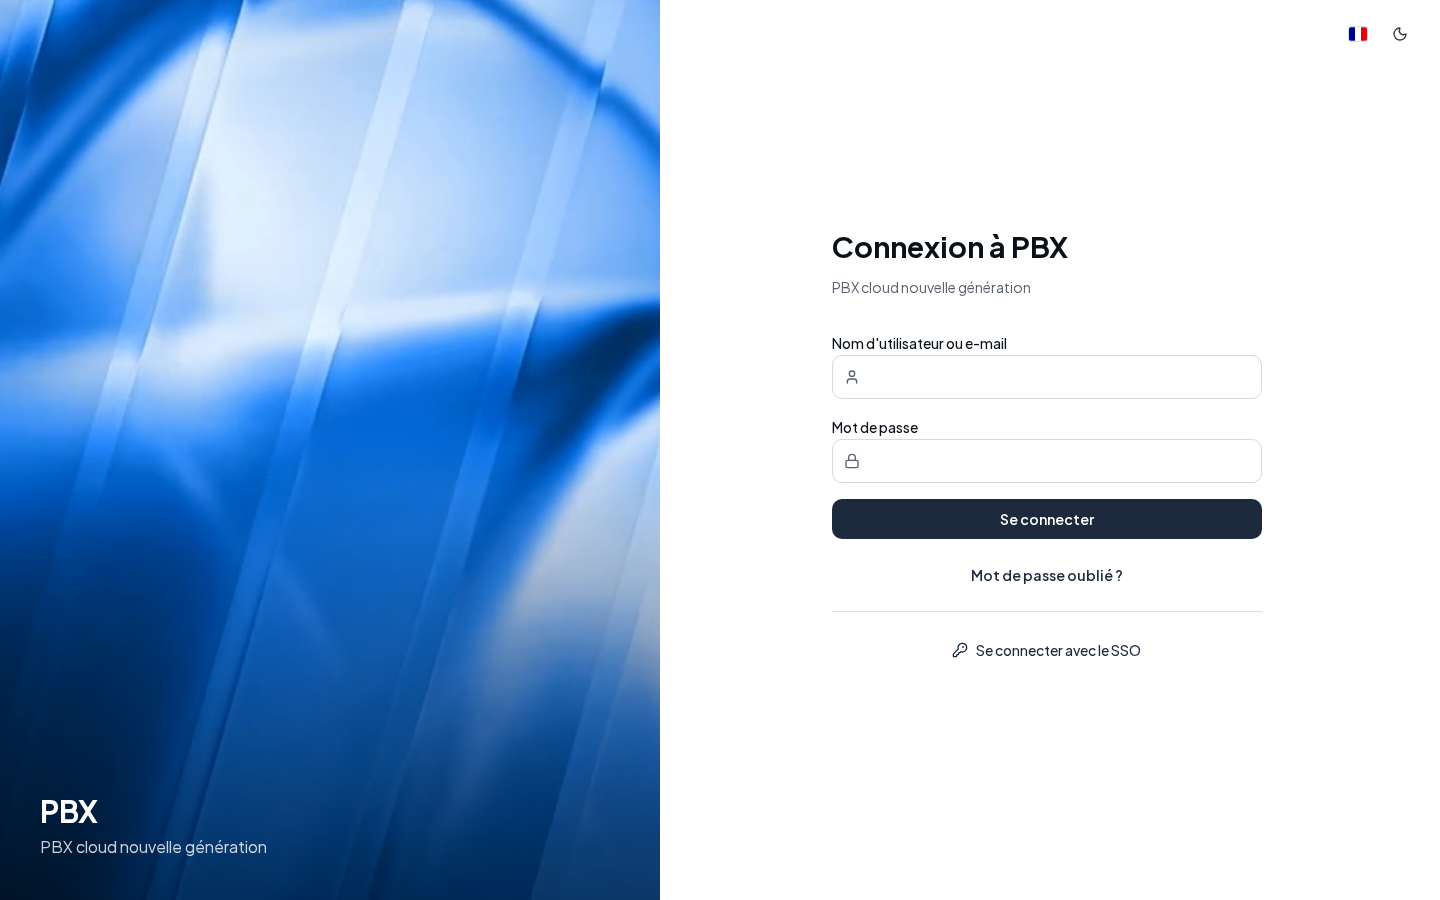
Logging In with a Password
| Field | Purpose | Possible values | Example |
|---|---|---|---|
| Username or email | Identifies your account; required | The email address or username you were given | camille.admin or camille@example.test |
| Password | Proves your identity; required | Your current password; characters are masked | Enter your personal secret |
- Fill in Username or email.
- Fill in Password.
- Click Log in. The fields and button are disabled during Logging in….
- Follow any additional step required: new password or two-factor authentication.
After signing in, you arrive at your phone. If an extra screen appears (new password, verification code), the sign-in is not finished yet: follow it to the end.
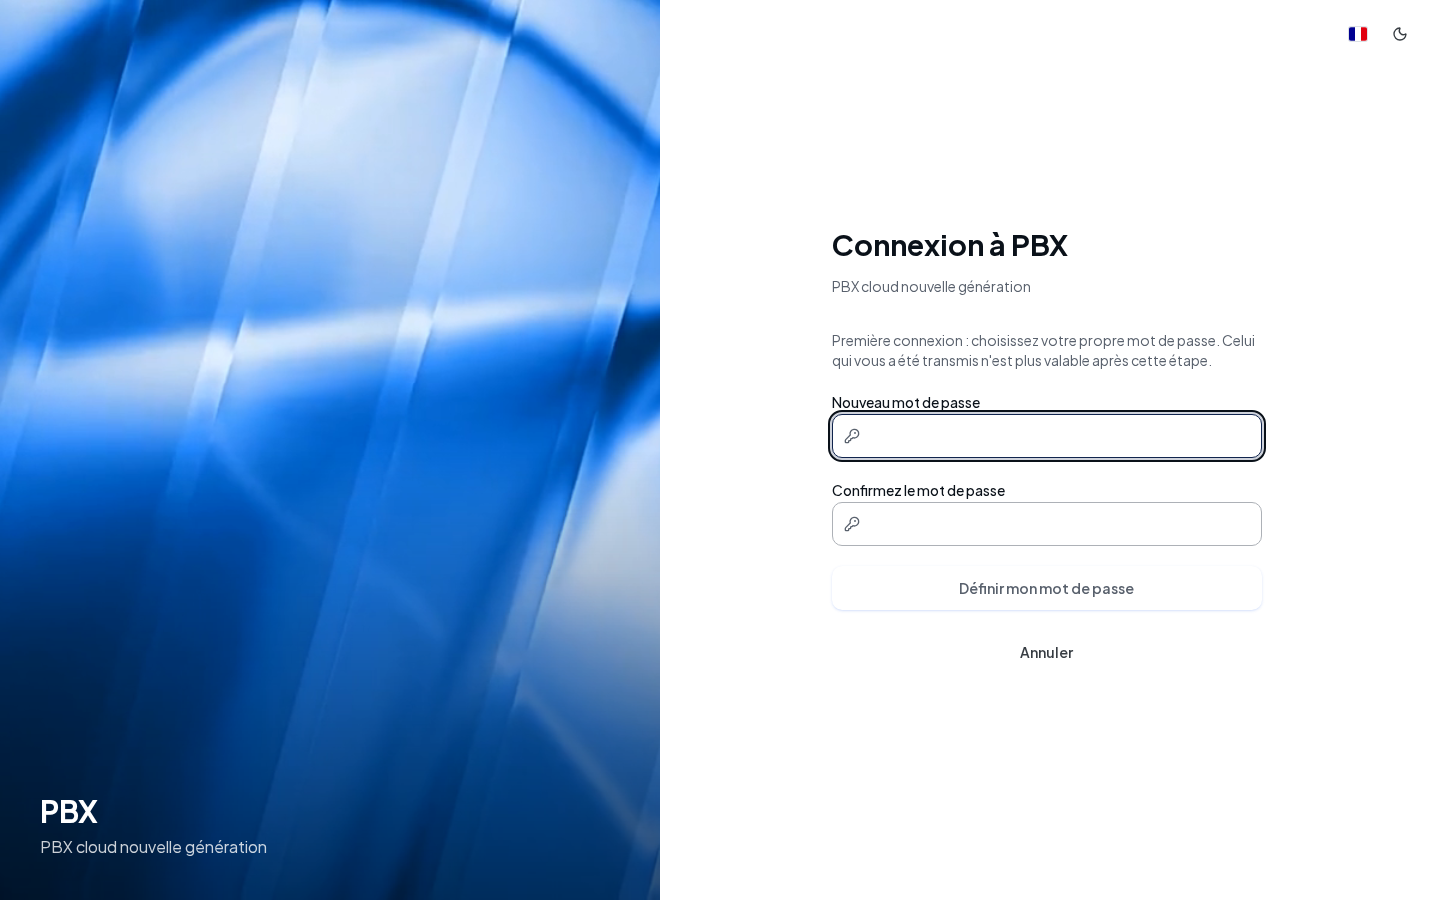
Replacing the First-Login Password
This screen appears if the account requires a new password. The password used on the previous screen is normally carried over automatically. A Password field only appears if this value is not available: in that case, it refers to the current password.
| Field | Purpose | Possible values | Example |
|---|---|---|---|
| Password, if shown | Confirms the current secret | Required when this field is present | The password sent for the first login |
| New password | Replaces the initial secret | At least 8 characters on this screen; the server enforces its own rules | A personal phrase different from the previous one |
| Confirm password | Verifies the new entry | Same text as the new password | Retype your new phrase |
- Fill in both new fields.
- Click Set my password. The button requires both entries and remains disabled while the request is being sent.
- Wait for your space to open or for the two-factor authentication step.
Cancel abandons this step. You will need to log in again. The initial password is no longer valid after a successful change.
"Minimum 8 characters.": lengthen your entry. "The two passwords do not match.": correct the confirmation. "The change failed — log in again and retry.": restart the login process. A more specific message may be provided by the server; keep it for the person who manages your telephony.
Verifying Your Identity with a Second Code
Two-factor authentication, also called 2FA, adds a code to the password. If it is already active:
- Open your authentication app.
- Copy its six digits into Verification code (2FA).
- Click Verify. The button requires a validly formatted code and that no request is already in progress.
- If you no longer have your app, select Use a backup code and enter a code saved during activation. Use an app code returns to the temporary code.
Cancel clears this attempt and returns to the initial form. "Invalid or expired code": enter the current code from the app or check your backup code, then try again.
Activating Required Two-Factor Authentication
If the Two-factor authentication (2FA) screen is shown to you before the session opens:
- Click Enable 2FA and wait for setup to complete.
- Scan the QR code with your authentication app. The key shown under Or enter this key manually allows manual entry in that app.
- Enter its six digits in Verification code.
- Click Confirm and enable. Exactly six digits are required to enable the button.
- Store the displayed recovery codes in a safe place. They will not be shown again after this screen.
- Click Log in, then log in again with your password and your new code.
Cancel, offered before the recovery codes are displayed, returns to the login screen. "Unable to start enrollment.": try again and contact the person who manages your telephony if the error persists. "Invalid code, try again.": enter a new six-digit code.
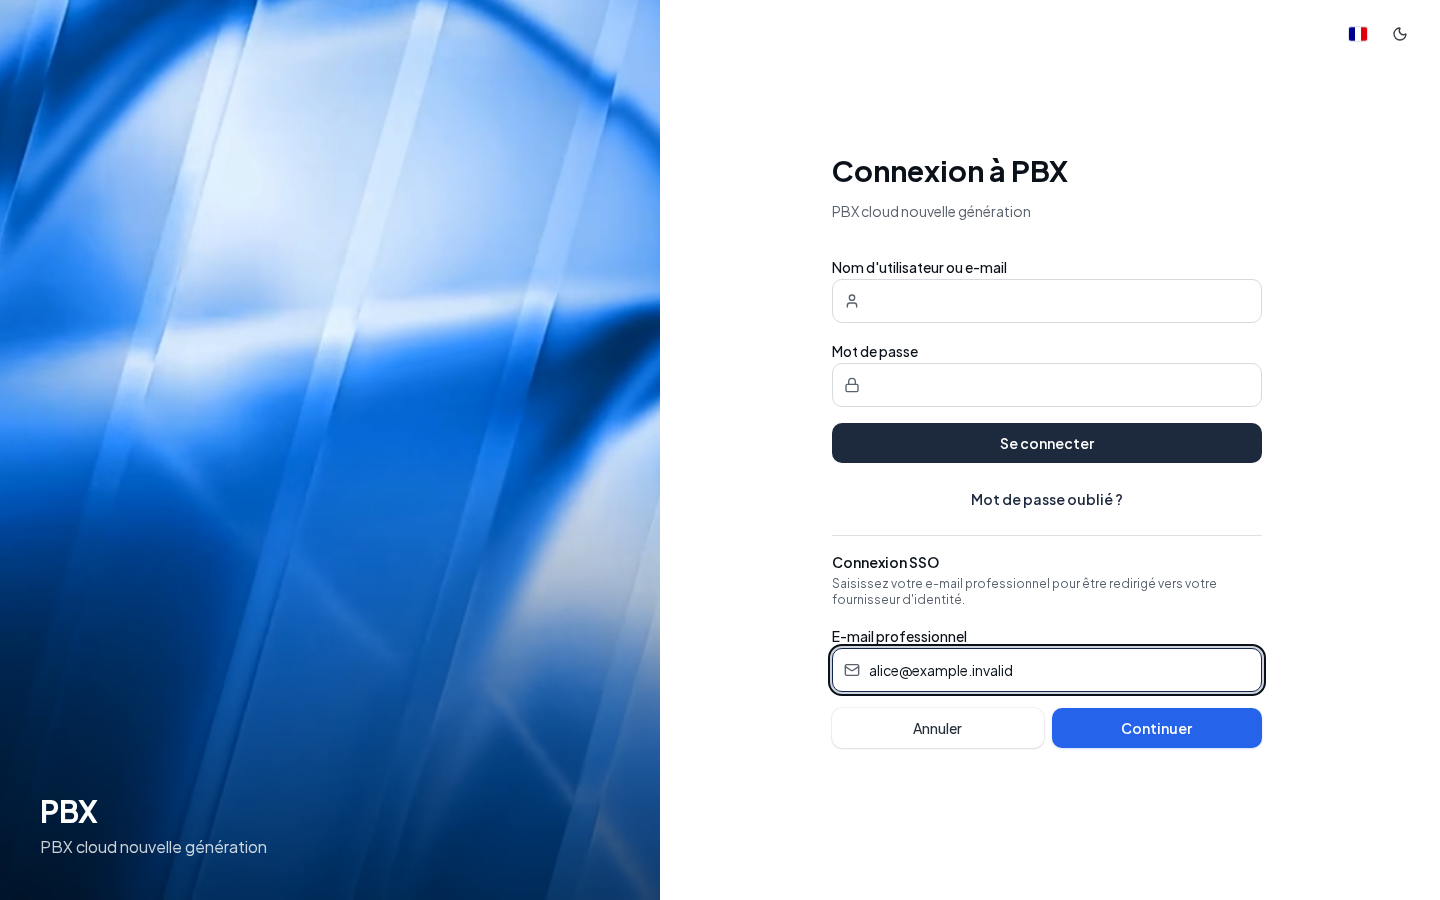
Logging In with Your Corporate Identity
SSO is login using the corporate account managed by your organization. It must be configured for your email domain.
- Click Log in with SSO.
- Enter your business address in Business email. Fictitious example: camille@example.test.
- Click Continue. The button requires a non-empty address and remains disabled during the redirect.
- Complete login on your organization's page, then wait to be returned to Informatique Facile PBX.
Cancel closes the SSO form and clears its error. If the corporate account was recognized but a local password change is required, follow the displayed warning. Ask the person who manages your telephony how to unlock the account; your identity provider's password does not automatically replace the telephony system's password.
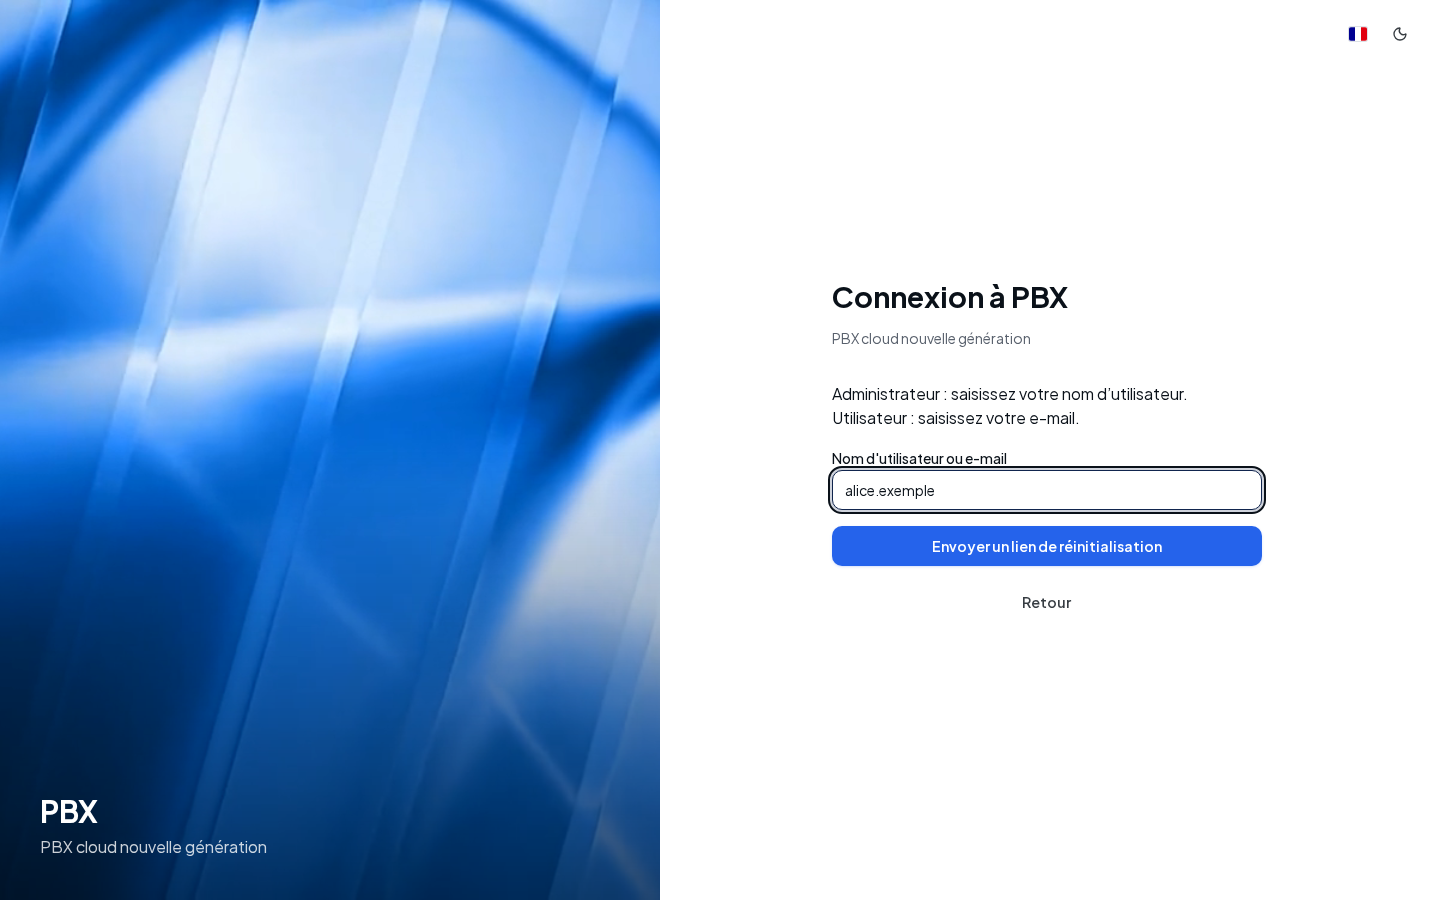
Resetting a Forgotten Password
- Click Forgot your password?.
- In Username or email, enter your username if you are an administrator, or your email if you are a user. The field accepts up to 254 characters.
- Click Send reset link. A non-empty entry is required; wait while it is sent.
- Check your inbox and spam folder. Back returns to the login screen and is disabled while the request is in progress.
The response message is intentionally the same regardless, so as not to reveal whether an account exists: "If the account is active and has an email address, a link valid for 30 minutes will be sent to it. Also check your spam folder. If you do not receive a notification email, contact your administrator."
Changing Server in the Desktop Application
Change server appears in the desktop application. It takes you back to the server selection screen. Use the address provided by the person who manages your telephony. This button is not offered on this page in a standard browser.
Checking the Result
You see your phone. Continue with the getting started guide to set up your headset and make your first call.
If This Doesn't Work
| Message displayed | Solution |
|---|---|
| "Incorrect username or password" | Check the username and the entry. Use the reset option if you have forgotten the secret. |
| "Too many attempts. Try again in a few minutes." | Wait a few minutes before trying again. |
| "Login unavailable. Check your network and try again." | Check your network access and the server address; contact the person who manages your telephony if necessary. |
| "Invalid or expired code" | Enter the current code from the app or use an available backup code. |
To understand an access denial after login, see States and Access. Never send your password or recovery codes to support.